 |
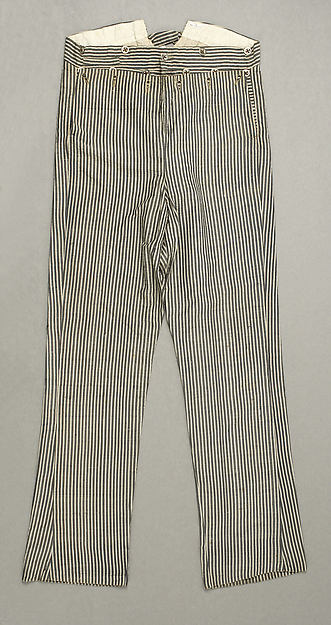
| Broadfall trousers ca. 1840 The Metropolitan Museum of Art |
I also discovered that broadfall trousers were still in common use for the Navy at least through the sixties, and are still referred to by this site as "nautical pants." (Which, actually, look really cool, and I'd totally wear those as modern casual trousers.)
I don't have a pattern for these - the Kannik's Korner pattern I used for my Regency trousers are for a small fall (or half-fall), and the seat is a little loose for this period, so I decided to draft my own. I also don't have a full-on draft for broadfall trousers, so I drafted some French fly trousers based on an early draft, and then used the directions from the 1947 edition of Tailoring: How to Make and Mend Trousers, Vests, and Coats by The Master Designer in Chicago. Basically, all you do is use the fronts to draft the bearers (which go behind, and fasten the trousers closed at the waist), and then cut the fronts down by two inches.
I layed out the pattern on the cloth, added inlays, and cut it out.

Step one: add crutch reinforcement. Just cross stitched some cotton pocketing in place.

Step two: serge (i.e. whipstitch) the raw edges of the trousers which will be left exposed. This took eight hours. Let me repeat:
This took eight hours.
Yup, a necessary evil. I see why sewing machines have a place in the workroom.

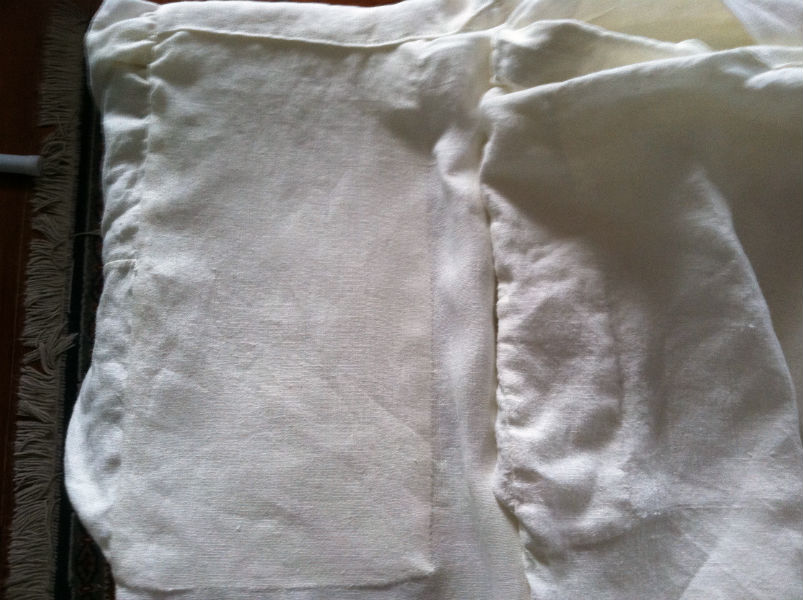
Here's a picture of one of the bearers, with the pocket mouth marked.

I thread-marked all the inlays and the back darts - which are called fish, because of how they are shaped in a flattened oval.

The first step of actual tailoring, now that everything is prepared. Sew up the back fish.

First I basted it in place...

...and sewed it up, and then ironed it flat. I could have cut the fabric out, but I wanted to leave it in case I need to alter it in the future.

Then I closed up the front, to about halfway down the crutch reinforcement. This felt strange, since usually this is where the fly goes. Keep in mind that this portion of the trousers is unchanged from a usual French fly-front, other than being 2" shorter than the waistband, so it just felt weird.

Here's how it looks with the seam pressed open.

Then I made a lining for the fall, from the same trouser fabric. In retrospect since this is a heavier fabric I probably could have made it from cotton or linen, but it'll work this way too. The darker part at the top of the lining is the selvedge.

To define the edge and give support, I basted in a strip of linen, and then linen tape on top of it. Everything got stitched down so none of the stitches show on the front.

Cross stitching on the back of the linen strips, and felling and whip stitching on the linen tape. The back edge of the tape is just sewn to the strips, not to the cloth of the trousers.

Then the seam was turned over onto the tape, and basted down, then cross stitched in place.

The lining was basted in place.

I didn't turn the edge under the lining, so I used a thick felling stitch to keep the raw edges from fraying.

Finally, a row of side stitches was put in around the edge in front. This will eventually get four buttonholes, but I don't have the right colour buttonhole twist right now.

A close-up of the side stitching.