The reason I've made this distinction is because in the book The Victorian Tailor, Jason Maclochlainn does his best to combine the two roles and describe them both, but honestly they are two huge (and vastly different) jobs, so some of both gets lost in the describing.
Don't get me wrong, he does a great job, but I think if I didn't have any sewing experience, or any other resources, I'd have a pretty hard time following along. I think another part of the problem is that the cutter is expected to just know how to draft and cut all the various things that go along with the base trouser pattern, such as the fly facings and linings, pocket facings, and so on. None of these are detailed in the book. I tried to look up how to put together the fly in W. D. F. Vincent's The Cutter's Practical Guide to the Cutting and Making all kinds of [sic] Trousers, Breeches & Knickers (Eighth Ed., 1898). No info at all on the cutting or making of the fly (or the pockets, which I'll post about next), other than to mention that the cutter must cut out all the facings and linings, and pass them along to the tailor. So that didn't help at all.
 I just bought David Page Coffin's Making Trousers, but for the pair of trousers I'm making now, I relied on this picture from The Victorian Tailor:
On it you can see the shape of the button catch and the pocket facings (under the hip stay). It looks almost as though the pocket facing has been clipped and turned, but the written directions have them remain right up to the seam, so I'm going to do that as well.
So let me post (finally) some pictures of what I've been up to.
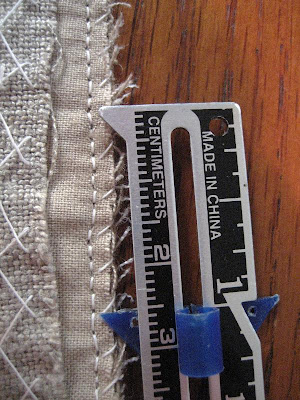
Here is the fly stay. The X stitching is like cross stitching, except instead of stitching off to the side, I've just gone across the stay and made the next stitch there. Holds it in place, and doesn't show from the other side.
You can't see it yet, but I've sewn the fly lining onto the fly. This is mostly just to brag about my stitch count. :)
Now I've turned the lining over to cover the fly stay, and basted it in place. Eventually it'll get the button fly put over it.
Now to the other side, the button catch. I think I got the shape about right, based on the picture in the book. It goes all the way up to the top of the waistband, and is lined with a canvas stay.
Here's what it looks like from the front. I thought I'd figured out how to line up the plaid, but I guess not. Oh well, it won't show much once the fly is buttoned.
And now the two legs of the trousers are basted together, still inside out. At this point I can work on the pockets, which will be for the next post.


This comment has been removed by the author.
ReplyDeleteDiscover essential tips for sewing fly facings in Day Trousers: Part 3. Learn how to achieve a polished finish while ensuring comfort and durability. Find out why the Best Beekeeping trousers need the perfect fit and design for ultimate protection.
ReplyDeleteGood!
ReplyDelete